As a professional who’s primary focus these days is SharePoint, like most folks I live in virtual machines. That’s usually meant working with Microsoft’s VirtualPC or VMWare Workstation on my laptop on a daily basis when working on projects, demo’ing to customers, doing presentations and teaching. While performance was never ideal, it was acceptable and just settled with running one machine at a time even on a 4GB laptop. While unrelated, as I don’t work for a large organization and thus, work out of my house, I got tired of having a few machines running in the home office for various things. I also didn’t like having one machine that served everything: active directory, database server, file server and source server.
So in mid 2008 I decided to switch it up and get a rig for my office that would (1) consolidate a few existing physical machines, (2) host all my home & work “production” virtual machines, (3) host my SharePoint development machines and (4) host client-specific machines so I wouldn’t have to have multiple clients on one machine. The ultimate process took almost 6 months to come together… in reality it only took 1 month with five months of procrastination.
You can read about the experience at the time in a three-part series I did when I built it out… however much of the info is detailed in this article: part 1, part 2, part 3.
First, let’s start with the goals…
Primary Virtualization Server Goals
When I started the process I had some primary goals in mind. First the server had to be quiet… as quiet as possible (and I did NOT want to go liquid cooling). I want this thing to be in my home office and not have a constant loud hum going on. One reason is just the annoyance factor. The other two are more work related: with a home office you do a lot of calls with clients. I didn’t want to fight with a loud background noise. Second, I teach classes online so I just couldn’t have that noise in the background. The next goal was for this thing to be a solid machine for at least two years… ideally longer. If I was going to invest in something like this, I didn’t want to have to bump up the hardware anytime soon. Next, this server was not only going to run all the time, but it had to be powerful enough to host many VMs to be running simultaneously… many of which under stress at the same time. Finally, I wanted fault tolerance built in. No sense in dealing with dead disks (amazingly this has already paid off).
First Failed Attempt
I’ll keep this part short as it isn’t what you’re reading this for. I first tried to make life easy: buy something “off the shelf”… or close to it. I went straight to Dell and got a PowerEdge 2300. Nice beefy box with two CPUs, loads of memory and disk space. But one thing was grossly underestimated: the noise factor. I know those things are made for server rooms and to run cool, but GEEZ… it seriously sounded like a jet engine in my office. Within an hour of taking receipt of the server, I had unboxed it, fired it up, called Dell for options on slower spinning fans, secured an RMA with Dell, boxed it back up, and had scheduled UPS to come back and pick it up.
It became quickly clear to meet my first requirement of it being a quiet machine, I had to build a custom rig. Many had done it… I’m just going to have to do my own as well. Total price when all was said and done (minus shipping and the issues I had finding the right PSU)… just about $5,500.
Hardware List & Tech Specs
I spent a TON of time researching parts and soliciting advice from a bunch of friends. Here’s what I ended up with:
- Dual Quad Core Intel Xeon 2.33Ghz 64-bit CPUs (8 cores)
- 32GB FBDIMM DDR2-800 RAM
- 1.5TB 7200RPM 16MB cache drives fault tolerant (via RAID 0+1)
The first thing to pick was a motherboard. I selected the ASUS DSEB-DG. This guy gave me everything I wanted: dual Intel Quad core Xeon capability, max 64GB of RAM & onboard RAID (0/1/0+1/5/10) provided by two different controllers.
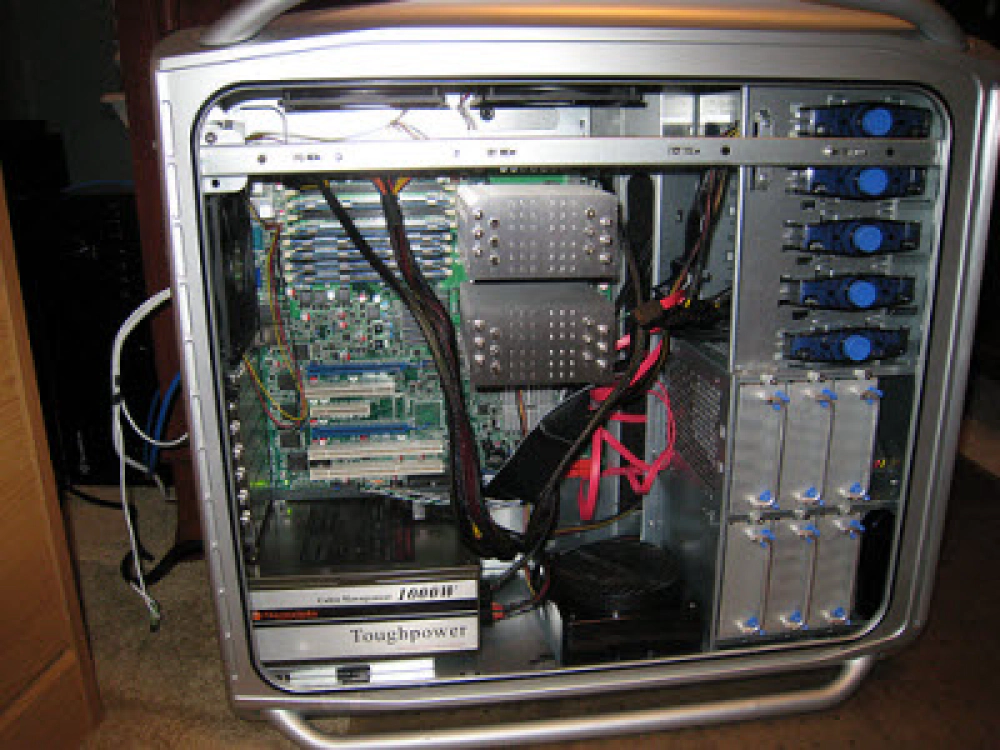
Inside the case
CPU heat sinks
Next came the chips. These were two 64-bit Quad Core Intel Xeon E5410 CPUs, giving me a total of 8 cores. With that much power, heat was obviously a concern. I thought I’d have to go with fans, but I read a lot where some didn’t do that and just got great heat sinks. Anywhere you can avoid fans, that’s what you shoot for as it’s the main source of noise. I found a paid that would sit next to each other on the board and were highly rated: Thermalright HR-01 X. They look quite amusing towering over everything in the case (see image to the right) In case you’re wondering, going fanless was a fantastic choice. I’ve run stress testers on the box for 48hrs+ and touching… err wrapping your hands around… the heat sinks you can tell there’s almost no heat on them… they do great job radiating the heat. And yes, I’ve tried touching one of the six thermal pipes… they aren’t hot either.
Now for the memory. This turned out to be the most expensive component accounting for over 60% the total cost of the box. At first I started with 24GB, but just recently I added another 8GB kit to max it out at 32GB (while the board says “max” is 64GB, 32GB is just fine as far as “max” goes in my book these days :)). I’ve always been partial to Crucial so I got 8x 4GB FBDIMM DDR2-800 modules. This is the only concern I have with this box… the memory gets hot. I’d like to find a nice fan to mount over the RAM just to put my mind at ease… need more research here.
Gotta have somewhere to store everything, right? I wanted to make sure I got nice fast disks and also had fault tolerance built in. I didn’t want the hassle of RAID 5. While it is never easy to eat half your storage for fault tolerance, in my mind there’s just no better option that mirroring as it just works. So I got four 750GB WD Caviar SATA 3.0GB 7200RPM disks with 16MB caches, created two striped pairs and mirrored them to get a total of 1.5TB of storage. This strategy has already paid off as about 2 months into running the rig, I noticed on a reboot the RAID controller reported a problem with one of the disks: it had already failed! Thankfully, WD’s warranty and replacement was a piece of cake and I had a new one with a rebuilt RAID set and almost no downtime as the RAID set was rebuilt from within Windows.
And to power everything, you need a big power supply. This was likely the most frustrating part of the project and something I didn’t anticipate being an issue. The motherboard (for the Quad Core Xeons) needed a LOT of power… and something I didn’t expect: three power connections! It took three different PSU’s just to get the machine to boot. I finally settled on the Thermaltake Toughpower W0132RU 1000 watt PSU. It is very quiet and nice cable management.
Last but not least… I needed a place to put everything. Apparently this isn’t an easy task to find one that supported the motherboard’s larger server-size and also have room for the PSU, but I found the Cooler Master Cosmos 1000 that’s also built with quiet in mind: the doors don’t do metal-to-metal, there’s a rubber membrane they connect to and also have egg crate dampening materials on the side. The HDD drive bays also don’t do metal-on-metal and connect via silicon grommets. Best of all: four BIG fans that spin at a very low RPM… and they even have filters on them!
Guess I needed a DVD drive… ok… I admit… I used one from an existing machine… but I could have picked up a $20 special at a local store.
So, here’s my official parts list, complete with links to the manufacturer and where I got them (hopefully these won’t die for a while) and original prices:
| Part | Links | Price | |
|---|---|---|---|
| Motherboard: ASUS DSEB-DG | manufacturer | store | $490 |
| CPUs: Intel Quad Core Xeon E5410 2.33Ghz (quantity 2) | manufacturer | store | $540 ($270/ea) |
| Heatsinks: Thermalright HR-01-X | manufacturer | store | $110 ($55/ea) |
| Memory: Crucial 8GB kit FBDIMM DDR2-800 (each kit = 2x 4GB modules; quantity 4 kits for 32GB) | manufacturer | store | $3,340 ($835/ea) |
| Drives: Western Digital Caviar 7200RPM SATA 3.0GB 16MB Cache (quantity 4) | manufacturer | store | $520 ($130/ea) |
| Power Supply: Thermaltake Toughpower W0132RU 1000 watt | manufacturer | store | $330 |
| Case: Cooler Master Cosmos 1000 | manufacturer | store | $190 |
| Total: | $5,520 |
Looks like only the drives have dropped in cost as they are now $100/ea… so $120 less on the total cost.
Buildout & Placement
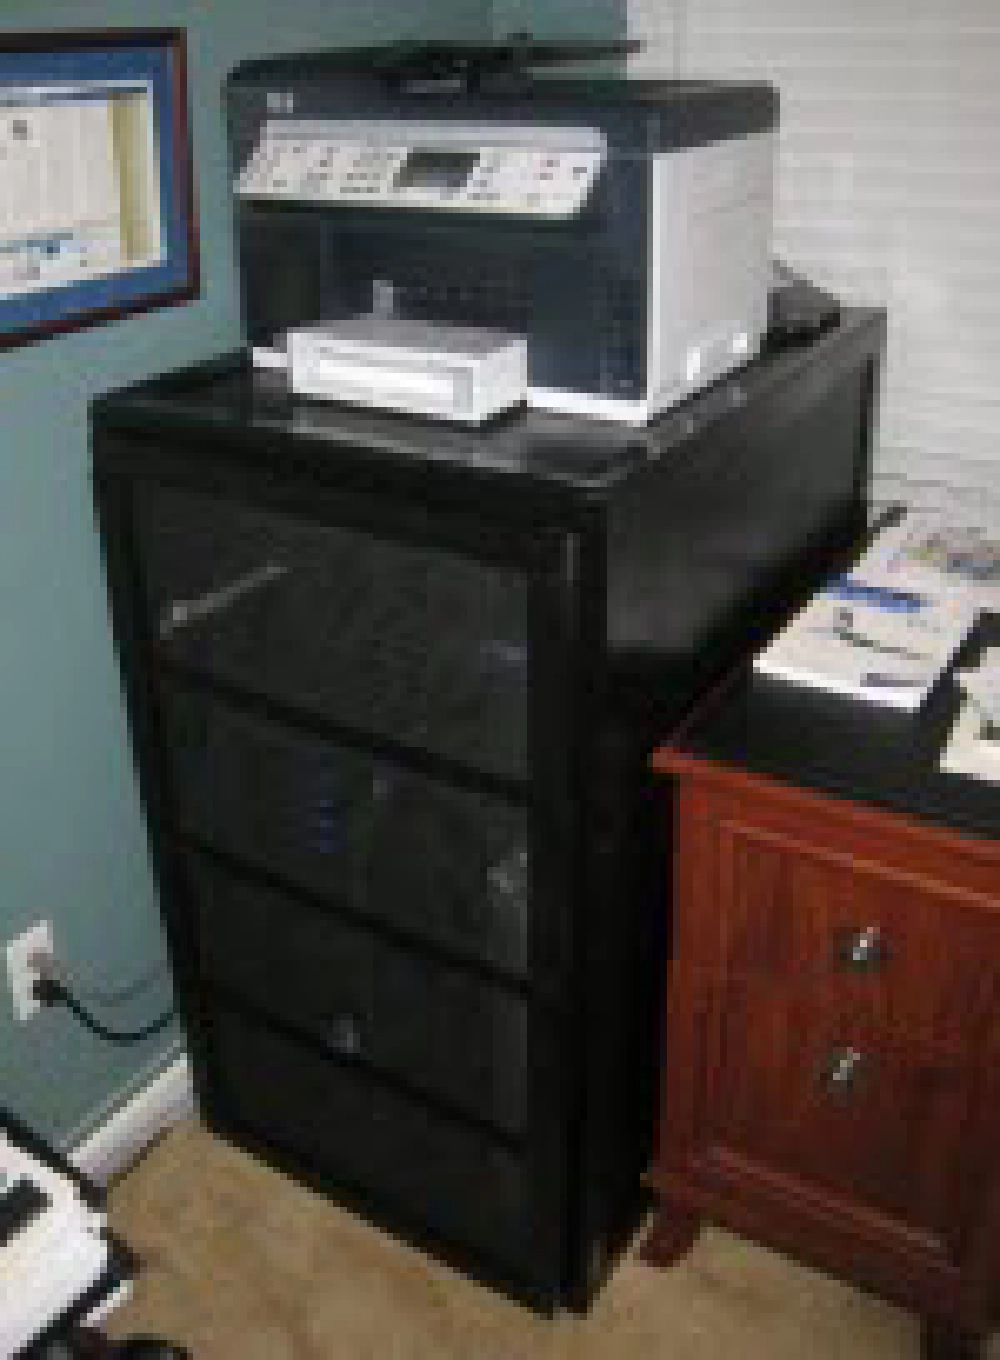
DIY server cabinet
The build out was pretty simple… shockingly simple… ok, it was simple once I had the right parts :). The procrastination part I alluded to previously was building a cabinet for all my computer stuff in the office. Finally got around to doing that last week. It was my first REAL woodworking experience, but it came out much better than I expected. The cabinet holds the following:
- Cable modem
- Linksys wireless router
- Vonage VOIP device
- Netgear gigabit switch
- HP Media Smart Windows Home Server
- Two battery backups / surge protectors
- Virtualization rig detailed in this article
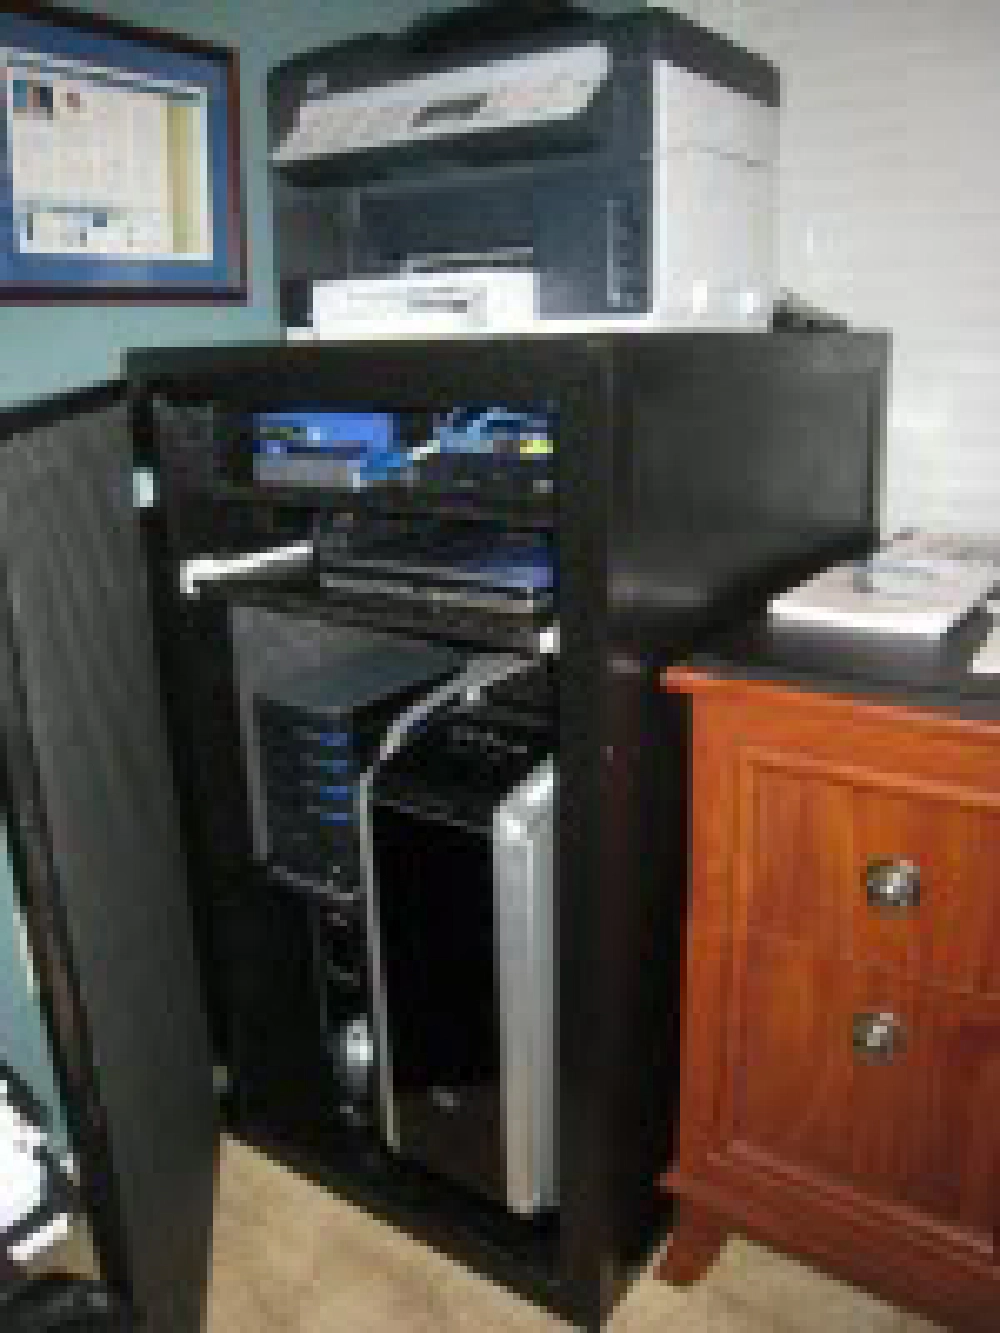
DIY server cabinet
I did some fancy stuff making it easy to slide the virtualization rig out in case I needed to get into the back of it. Also has organized cable management to avoid a mess of wires. For the quiet aspect I added egg crate foam on both interior sides and on panels on the back. The back is comprised of two panels with nice big horizontal slots of ventilation. The front door is really porous as I made it from the same material on screen doors on houses… I just doubled it up to somewhat hide what was in the cabinet to look a little more clean.
Before you say “dude, all that stuff in a cabinet? it’s that going to overheat?” Nope… it’s got proper ventilation… the front is 90% open with a screen simply hiding stuff as you can see in the picture and the back is about 30% open.
What about the noise factor? Well, when the server was out of the cabinet, it was quieter than everything in my office. Now that it along with my WHS is in the cabinet, the loudest thing is my MacBook Pro laptop… and those of you who are familiar with MacBook Pros, their fans rarely kick in so that should say quite a bit. The noise results greatly exceeded my expectations… I think it’s all about the case and fanless CPU heatsinks. Success!
Server Software Set up
When I was spec’ing this thing out, I first tried to get it to work with VMWare ESX… but that was so darn hard. See, ESX’s hypervisor is bigger than Microsoft’s Hyper-V because the drivers are included in the ESX hypervisor where they aren’t in Hyper-V. This makes it harder to build a custom ESX box as you need to get ESX drivers for the hardware. Seems easy, until you try to get RAID working. I blew through 3 different controllers before I gave up.
Then I tried using VMWare Server 2.0… nice experience, but not nearly as fast as I could be.
Finally I came around to Microsoft’s Hyper-V and I’m VERY pleased with it. I’ll explain the client connectivity in a bit, but all in all, I’m very pleased. There are some things missing… or maybe I simply don’t get it yet. For instance, you should be able to create a single VHD file from ANY snapshot in the snapshot tree of a virtual machine (like you can easily with VMWare Workstation). It’s very fast on this box, easy to manage… just all in all a great virtualization solution.
I do have one pending to do that’s a biggie for me: automated backup solution of all VMs. Right now I’m shutting them down and exporting them… not ideal, but it works. Seen some PowerShell scripts people have written, just need to test a few out.
One thing I did do that I certainly don’t regret is creating a folder on my data partition called “ISOs” where I have every single installer I’d possibly need. Now it’s super easy to mount a ISO and install stuff without having to fiddle with bits or DVDs.
There are two other things I set up that I’d highly recommend:
- Use Mesh to sync a folder across ALL your VMs. Mine is a utility folder with all the utilities I need. For instance, I’ve got the classic SysInternals BGINFO updating the desktop background on every single machine. Also keeps some PowerShell scripts I like to use in sync across all machines as well.
- Created a shortcut folder to a share on my WHS that I use as a swap folder. Basically when I need to share stuff between VMs or my laptop, I just toss it in my VMSWAP folder… all machines can easily access it and it’s wide open as far as permissions go.
Virtual Machine / Client Connectivity - Working with the VMs on a Daily Basis
What good are the VM’s unless you can get to them? One way is via Remote Desktop (RDP) but that’s not always ideal as if you’re in the VM and tweak the firewall / networking you can blow yourself out of your experience… not ideal. But let’s face it, RDP works and we use it all the time. It’s good for my machines that are in my domain and have static IPs.
When you’re on the server, you can use the Hyper-V Manager to configure and fire off sessions for any of the machines. All fine and good, but that doesn’t help people who want to work on their laptops and easily jump in/out of VMs.
Thankfully Microsoft released the Hyper-V Manager for Vista x32 and Vista x64.
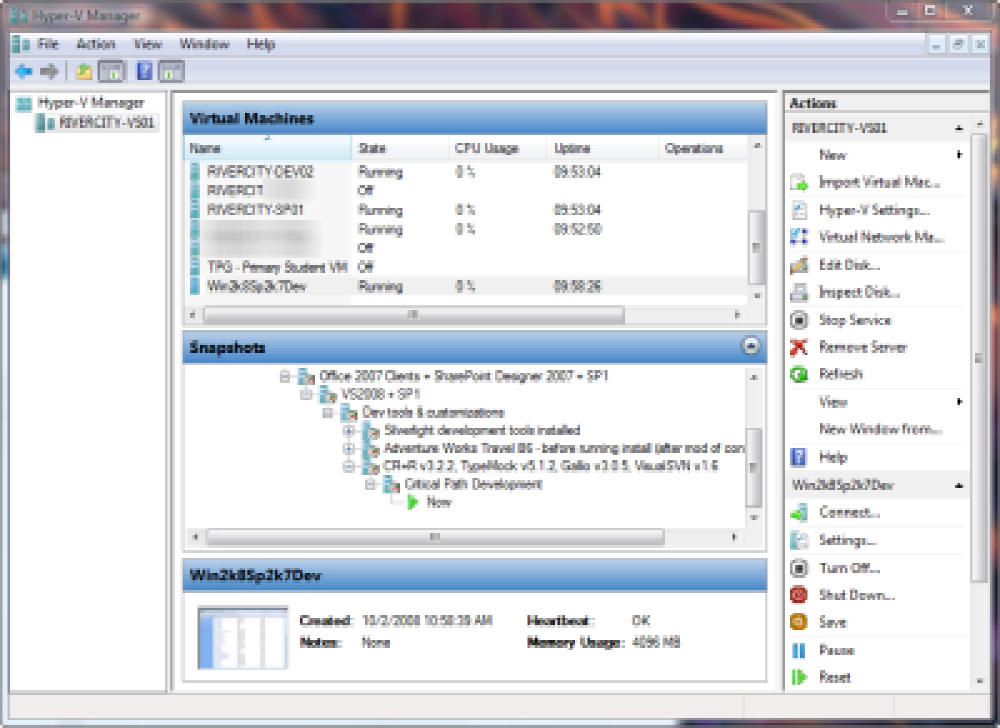
Hyper-V Manager
The trick is getting your Hyper-V server & client Vista install configured to work. The first time it took me a LONG time to get this sorted, but John Howard’s got a fantastic blog for helping out here. Recently he posted a slick utility that helps out TREMENDOUSLY on the config for the client & server for both machines that are on the same domain or in workgroup mode. Check out the Hyper-V Remote Management Config Utility. Just make sure you read the manual… I had to also add the anonymous user DCOM grant. The only extra bit I had to do was some extra firewall work in Microsoft Live OneCare which is my security solution:
- Grant access to Microsoft Management Console (MMC): c:\windows\system32\mmc.exe
- Add the RPC port 135 as being open
Another awesome bit is the Hyper-V Monitor Gadget for Windows Sidebar. Quickly check what machines are running and double click one to launch the console window.
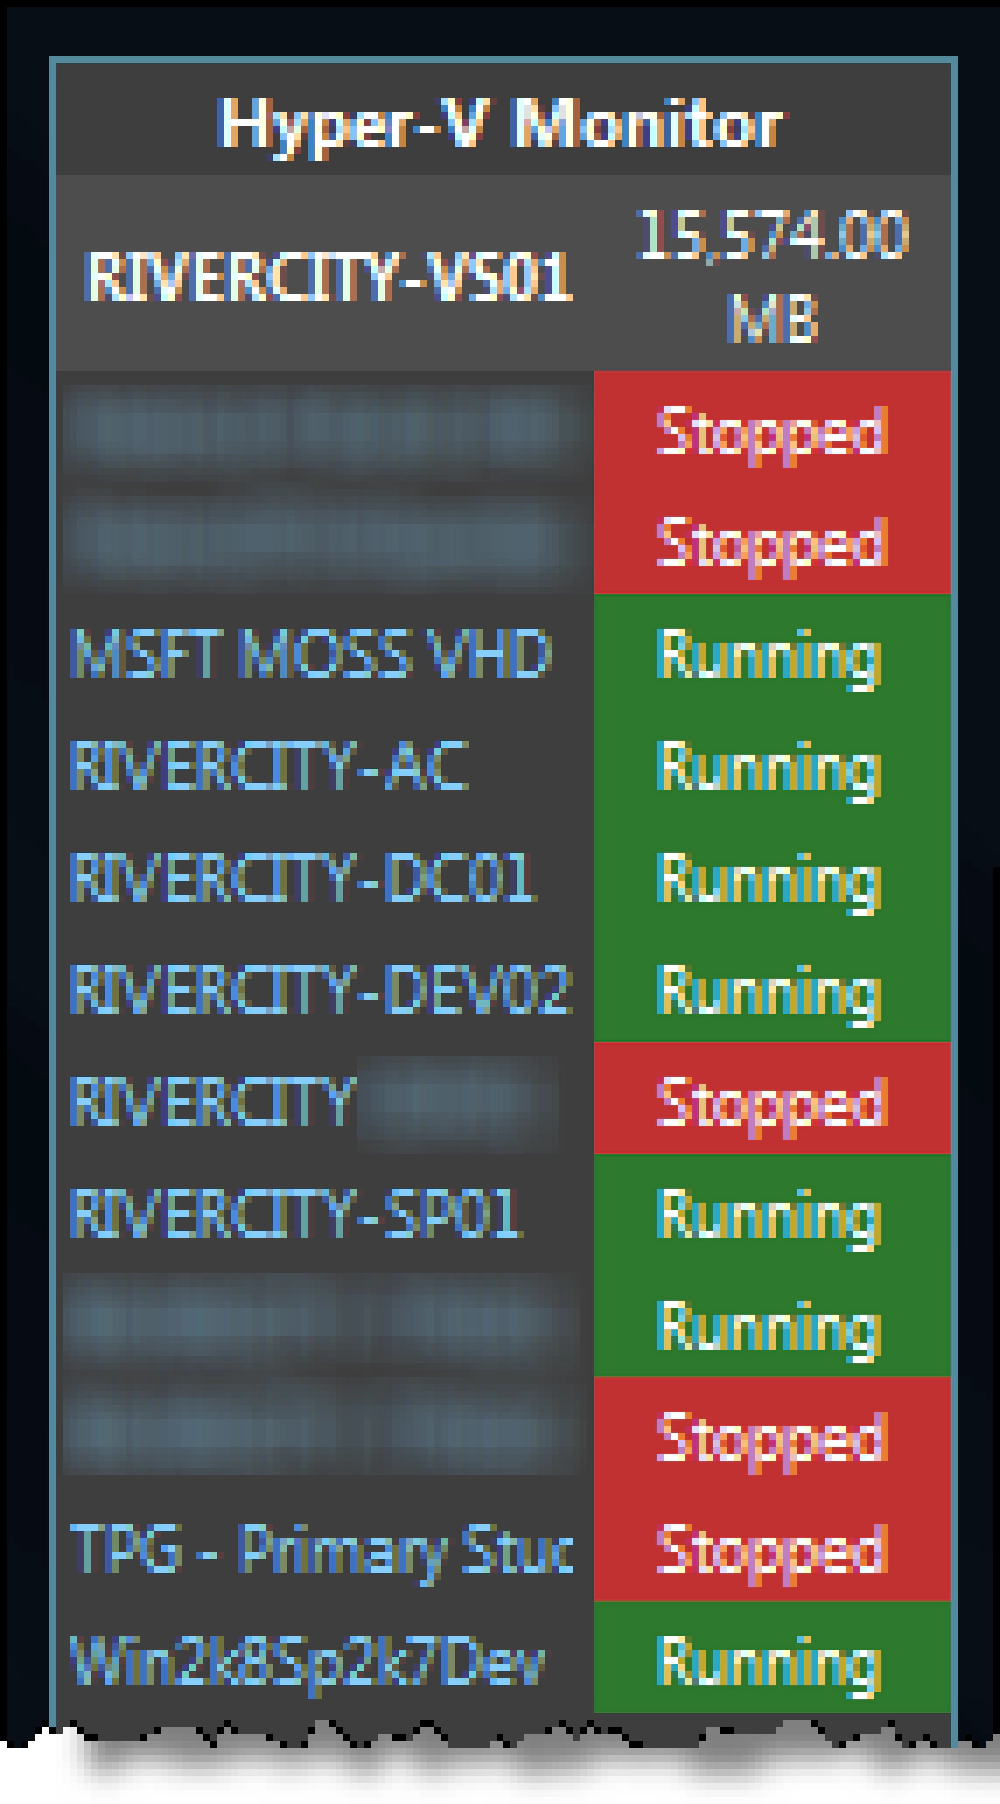
Windows Hyper-V Sidebar Widget
Summary
Hopefully this post will help someone along the way. I’m a firm believer and user of virtualization. It’s a fantastic solution to consolidate machines and stand up different environments quickly. It’s also a fantastic solution for that small business that is doing work where developers need their own virtual machines… much cheaper than buying everyone 4GB laptops!